Masking tape: what is it used for?

Giacomo Russu Export Sales Manager
24 January 2023
Everything you need to know about masking tape for painting jobs
Masking tape is a product used to protect surfaces during painting jobs. It allows you to make precision finishes without smearing and to protect edges and all areas that you do not want to come in contact with chemicals and paints.
Whether masking is done for professional work or for hobby work, it is necessary for the tape used to have precise characteristics so that you get the best results in application and do not risk having to cover splashes and smears. Masking is an operation that is carried out in both construction, industrial and painting fields to end with automotive.
Choosing professional and quality products is therefore a prerequisite for the final result of the work.
In fact, it may have happened to you that the tape you used, especially if it was of low quality, perhaps even after making sure it was perfectly adhered to the surface, let paint through, soiling the wall. Or, on the contrary, it may have happened to you that you failed to peel the tape off the surface and left traces of glue, thus ruining the surface.
In this brief guide we examine at the main steps for choosing and applying masking tape for painting, making whitewash and renovation works, in particular we will look at:
- how to choose the most suitable masking tape
- how to apply masking tape
- how to remove it in the correct way
How to choose masking tape
Masking tapes are not all the same, and a few points should be carefully considered before making a purchase.
- Take into consideration the type of surface on which the masking is being done. For a wooden surface, such as skirting board or shutters, you will need a specific tape for wood as well as for plaster, metal and glass. Each surface has a different composition, and to avoid ruining it, it is advisable to choose special tapes. For example, standard tapes for painters are specially designed by Naster to protect different types of surfaces and to be applied and repositioned quickly. There is also professional Washi Tape or Low Tack violet Washi Tape, which are particularly suitable for very delicate surfaces such as plaster. Also evaluate whether the surface is coated to avoid possible reactions between adhesive and coating.
- Consider whether the tape is to be applied outdoors or indoors. Again, not all masking tapes can withstand UV rays: if you have to paint in an outdoor environment, it is best to prefer UV-resistant tapes such as Blue Mask tape, which is particularly suitable for outdoor application due to its 14-day UV resistance.
- Carefully consider the temperature to which the tape will be exposed. Not all marking tapes are suitable for withstanding high temperatures: if you have to do the work in a particularly hot place, choose tapes with high thermal resistances such as the standard Mask LT tape, which can last up to 80°C for half an hour.
- Carefully calculate the adhesion time to the surface. Ordinary tapes on the market are not suitable for long application times, so it is best to prefer professional ones. If you are not sure which tape is most suitable, contact a Naster expert who can advise you in the best way.

Masking tape: how to apply it
Applying masking tape correctly will allow you to achieve a precise and smudge-free end result.
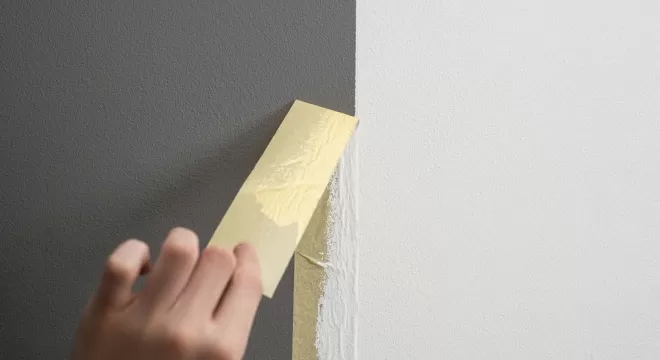
Before laying the tape make sure that the surface is perfectly clean and dry: if you avoid this step you run the risk that dirt residues, traces of some substances and moisture will not make the tape adhere completely to the surface, thus compromising the entire painting step.
Once the tape is in place, it is a good idea to ensure that it is perfectly adhered to the surface by applying pressure along the entire length of the tape. At this point it is possible to paint the surface, preferring to use a brush in the areas adjacent to the masking tape: unlike the roller, the brush provides better precision and accuracy.
How to remove paint masking tape
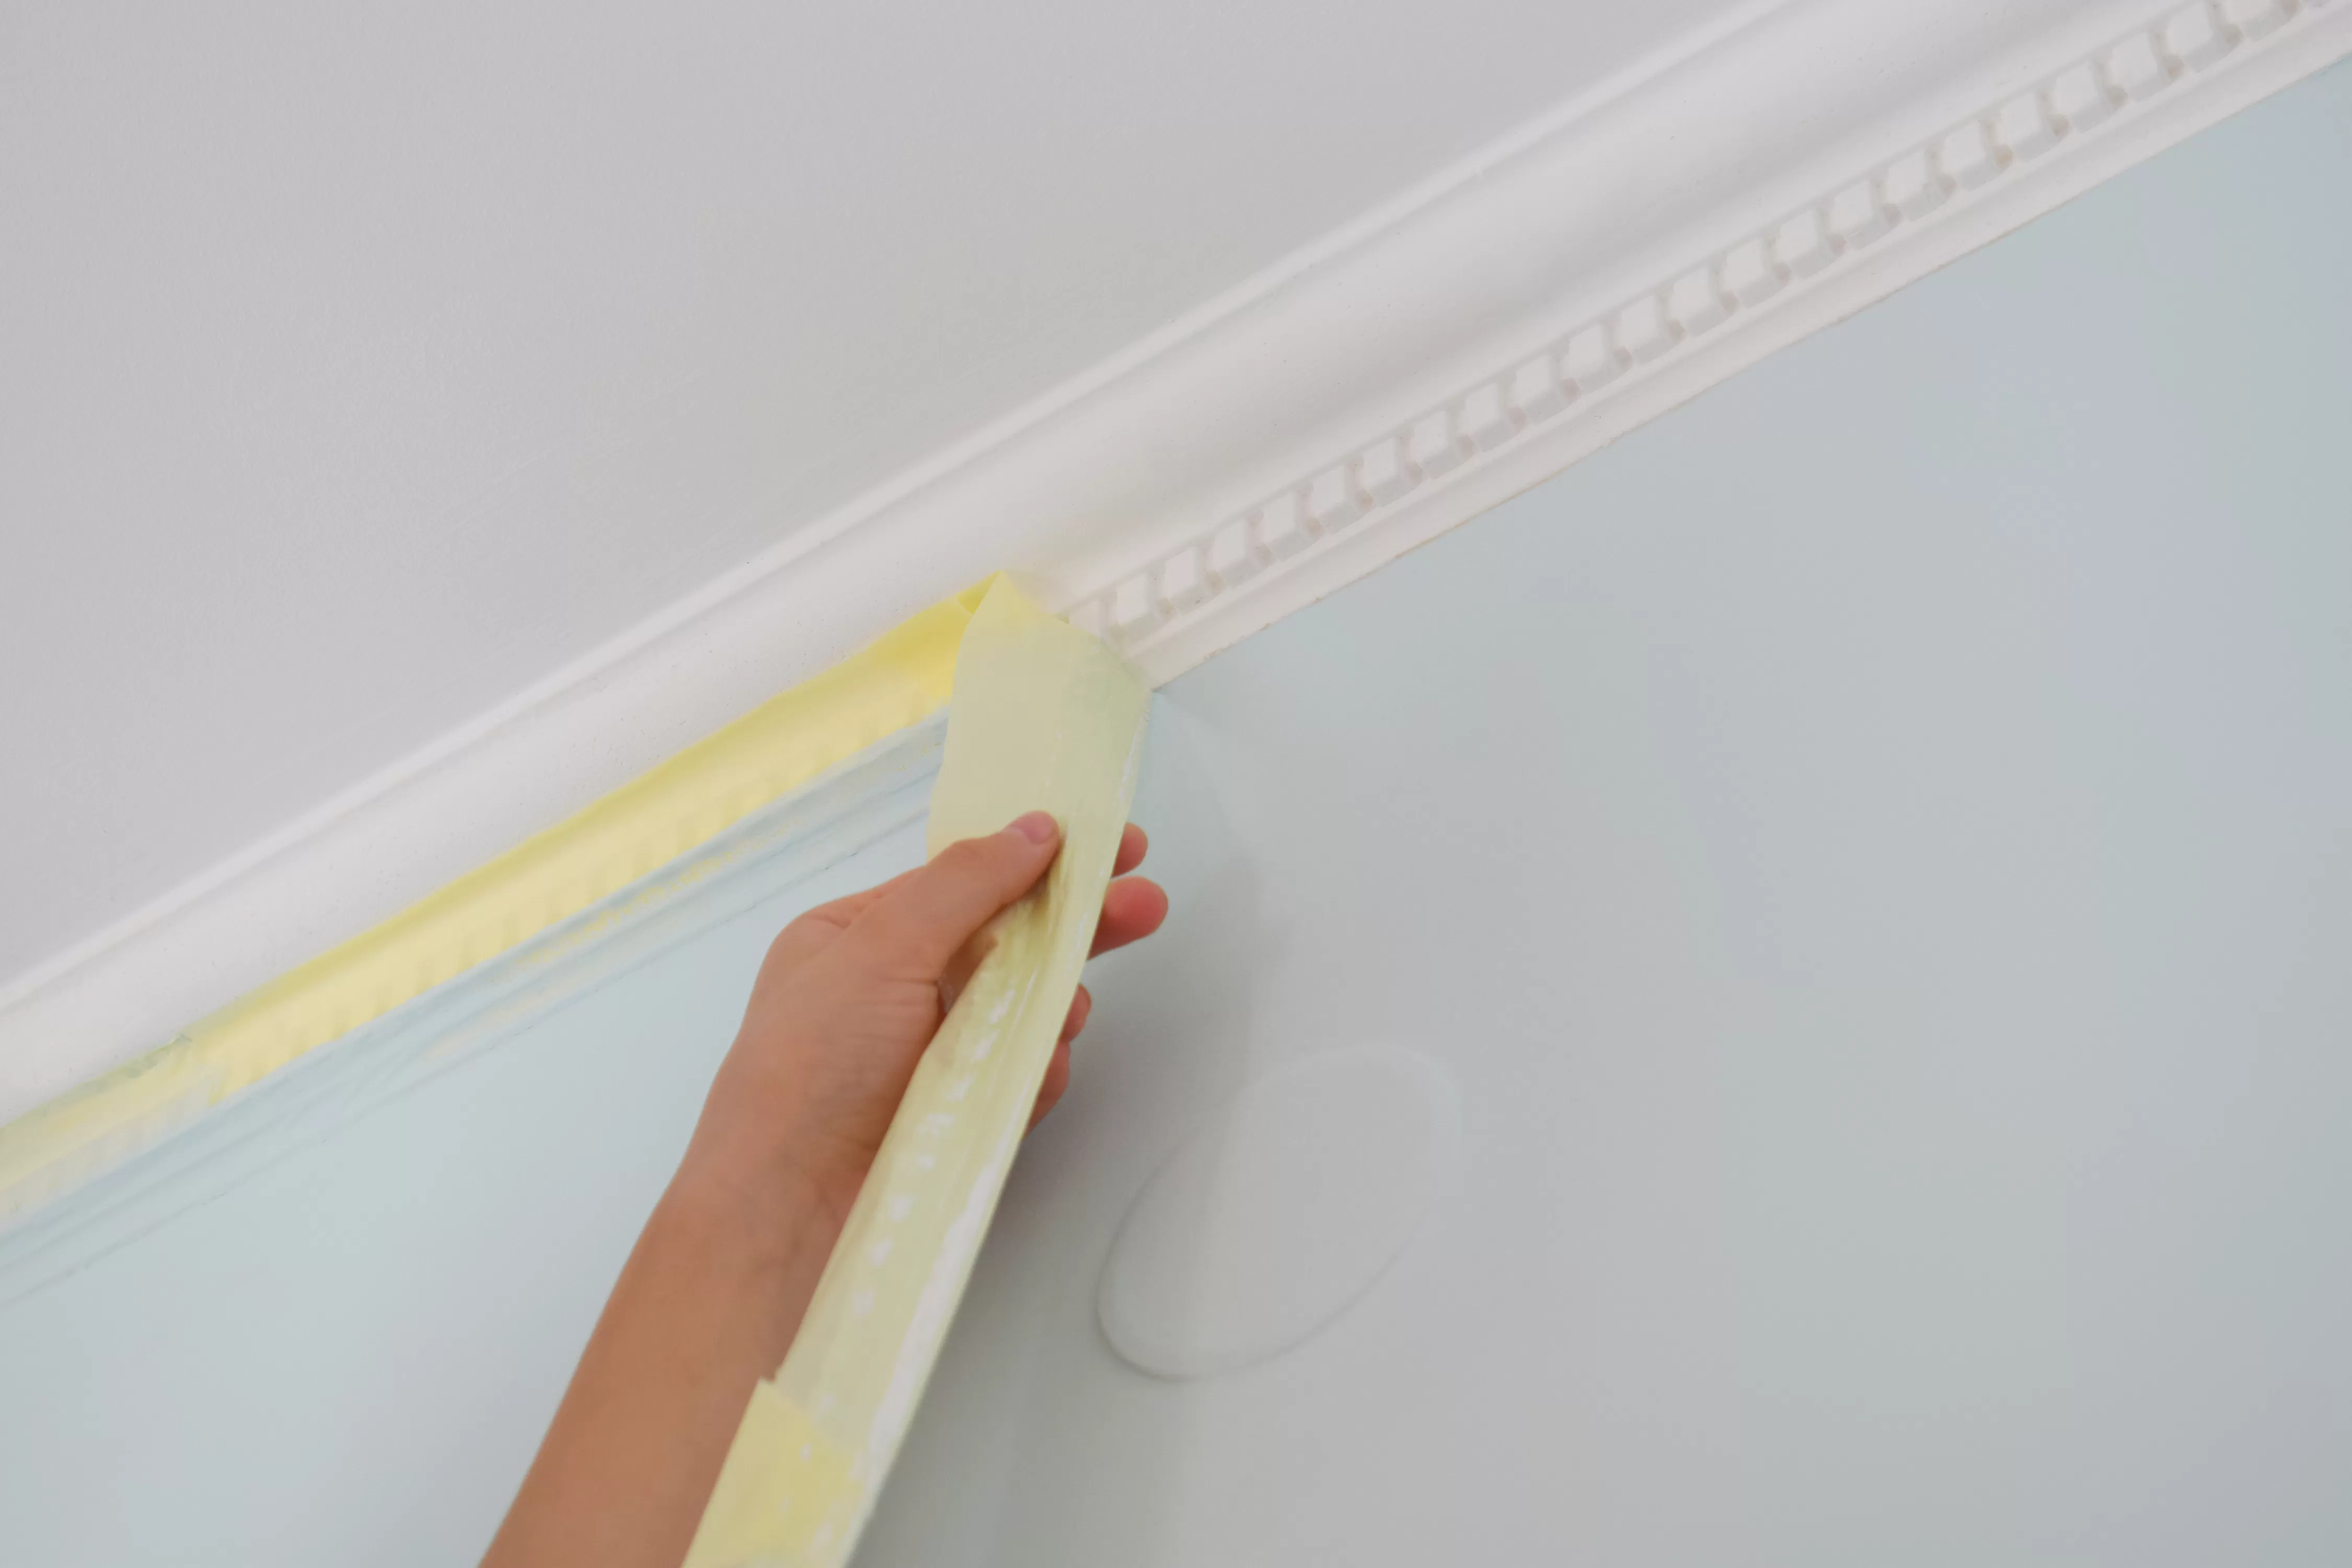
Once the painting stage is completed, we move on to removing the tape: this is a very delicate step that requires some care.
The tape should be removed when the paint is not yet completely dry, this is to prevent any solid chips of paint from coming off. Also, the tape should be removed slowly and gradually, forming an angle between 45 and 90 degrees between the surface and the tape. Doing so will not create smudges and the result will be excellent.
If you need advice on which masking tape is best for the surface you need to work on, or if you would like more information about our range of tapes, please do not hesitate to contact us: find all the information in the contact section. One of our experts will get back to you as soon as possible!